
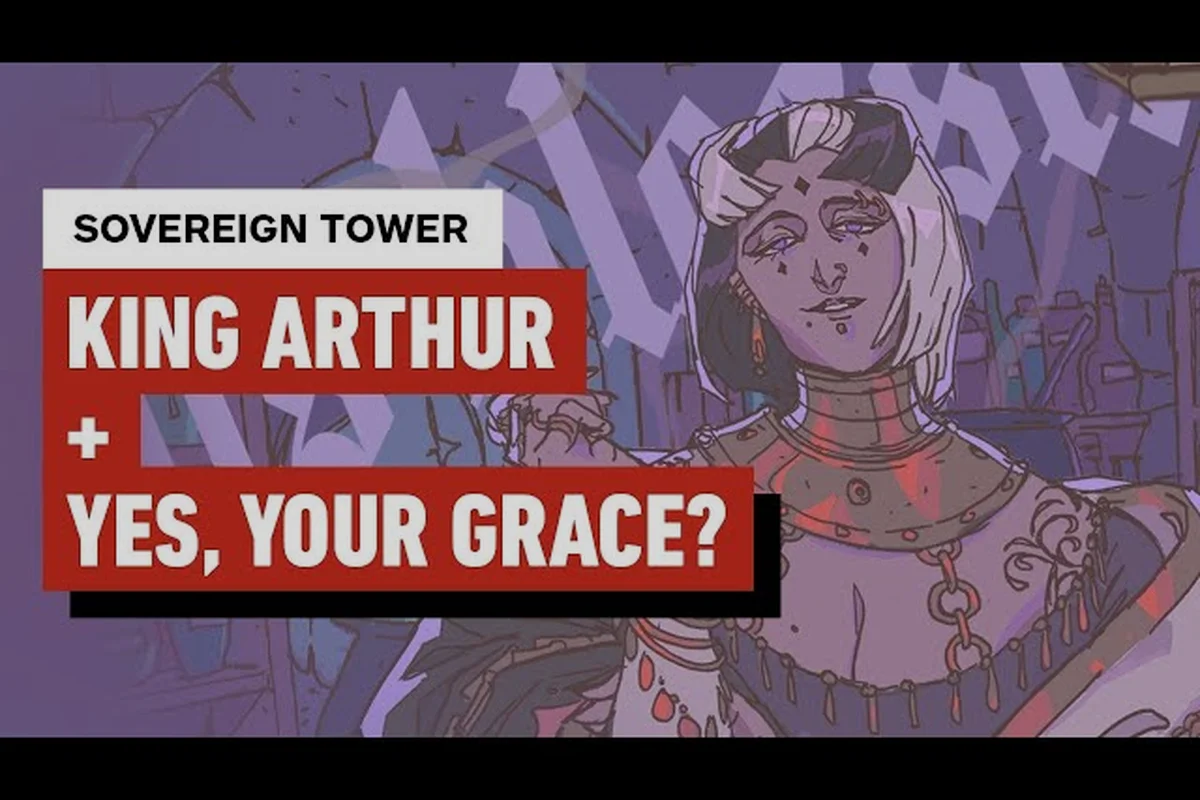
The morning court audience is Sovereign Tower's signature loop, and mastering it determines whether your reign ends in glory or a knife in the back. This sovereign tower court audience guide breaks down every mechanic, faction, and hidden consequence so you can rule with confidence from day one.
Every morning, you sit on the throne while subjects — peasants, annoying nobles, even an assassin — make requests that test your judgment. Your responses raise Audacity, Tyranny, Wisdom, and Kindness, which shift your standing with the Nobility, People, Merchants, and Scholars. Get this loop right, and the entire kingdom bends to your will; get it wrong, and you'll face revolts, economic collapse, and a surprisingly sharp dagger during what should be a routine petition.
The Four Stats That Define Your Reign
Your throne decisions feed directly into four ruler stats, and each one changes how the world perceives you. Understanding these stats before you sit down for your first audience is the foundation of any solid sovereign tower walkthrough, because they gate dialogue options, unlock special decrees, and determine which factions send you their most powerful allies.
| Stat | What It Does | Best For | Risky With |
|---|---|---|---|
| Audacity | Unlocks bold decrees, intimidates rivals, speeds up reforms | Aggressive expansion | Nobility (fear breeds resentment) |
| Tyranny | Cuts through red tape, forces obedience, reduces rebellion chance | Military builds | People and Merchants (they flee or fight) |
| Wisdom | Improves advisor advice quality, reveals hidden options | Long-term planning | No direct downside, but slow to build |
| Kindness | Boosts loyalty, attracts refugees, improves trade deals | Diplomatic runs | Can be seen as weakness by Nobility |
The key insight from the IGN preview and community reports is that no single stat is "correct" — the game rewards players who specialize while keeping two stats balanced as backup. A pure Tyranny ruler, for example, will crush a peasant revolt easily but might find the treasury empty when Merchants boycott the capital.
Audacity deserves special attention because it's the only stat that unlocks unique dialogue options during assassination attempts. When the assassin appears in your throne room — and they will, multiple times across a campaign — a high Audacity check lets you disarm the situation without bloodshed, which ironically earns more respect than executing the culprit.
How Stats Interact With Faction Standing
Your four stats don't exist in a vacuum. Each faction weighs them differently when deciding whether to support your reign: Now that you understand the stats, let's dive into the faction system that makes the court audience guide essential reading. Each pairing unlocks unique event chains that neither faction offers alone.
-
Nobility responds to Audacity and Tyranny — they respect strength but despise kindness toward commoners
-
People respond to Kindness and Wisdom — they want a ruler who listens and thinks
-
Merchants respond to Wisdom and Audacity — they value smart deals and bold market moves
-
Scholars respond to Wisdom above all, with Kindness as a secondary consideration
This means your morning audience choices create a four-faction standing matrix that shifts with every single response. A choice that pleases the People might enrage the Nobility, and that trade-off is the heart of the game's tension. According to community testing, most players who reach the late game successfully maintain two friendly factions and one neutral, sacrificing the fourth to pursue their chosen victory path.
Court Audience Mechanics: What Actually Happens
The audience itself follows a predictable structure, but the variables within each petition make every morning different. Let's break down the mechanics so you know exactly what to expect when the doors open. The morning audience typically presents you with three to five petitioners per day, drawn from a pool that includes peasants, merchants, nobles, scholars, soldiers, and the occasional assassin or spy. Each petitioner has a visible request, but hidden variables — their faction, their actual needs, and potential traps — only become clear through careful observation or high Wisdom checks.
Petition Types and Their Hidden Consequences
| Petition Type | Surface Request | Hidden Consequence |
|---|---|---|
| Tax relief | Lower taxes for a village | Reveals a corrupt tax collector if you investigate |
| Land dispute | Two nobles claim the same land | One party is lying; your choice shifts Nobility standing |
| Trade monopoly | Merchant requests exclusive rights | Boosts Merchant gold but angers People |
| Military aid | Captain requests more soldiers | Prepares you for invasion but drains treasury |
| Refugee admission | Peasants flee neighboring kingdom | Boosts People and Kindness, but Nobility sees it as weakness |
The assassin petition appears randomly and is the most dangerous audience event. According to player reports, the assassin often disguises themselves as a humble petitioner asking for a small favor — a common trick is requesting a private audience to discuss "sensitive information." Accepting the private meeting triggers a combat or dialogue encounter where your Audacity and Tyranny stats are tested directly.
Reading the Room: Visual and Dialogue Cues
Experienced players recommend watching petitioner body language, because the game's art direction includes subtle tells: New players often think every petitioner deserves the same level of attention. One of the most valuable patterns in the game is the assassin's three-step tell, which experienced players have documented extensively:
-
Shifting eyes indicate a petitioner with hidden motives
-
Ornate clothing on a "peasant" suggests a noble testing you
-
Nervous hands often mean the petitioner fears someone else in the room
-
Direct eye contact usually signals honesty, but assassins learn to fake it
Your Wisdom stat directly affects how many of these cues appear as highlighted dialogue options. At low Wisdom, you'll miss most of them and rely on guesswork; at high Wisdom, the game literally highlights suspicious behavior, turning the audience into a detective minigame.
Faction Standing: The Four-Pillar Strategy
Now that you understand the stats, let's dive into the faction system that makes the court audience guide essential reading. Your standing with each faction isn't just a number — it's a living relationship that gates access to unique units, economic bonuses, and story paths.
| Faction | Standing Bonus (High) | Penalty (Low) |
|---|---|---|
| Nobility | Elite knight recruits, castle upgrades | Assassination attempts increase, court intrigue |
| People | Tax revenue boost, militia units | Riots, reduced labor output |
| Merchants | Trade income multiplier, rare goods | Trade embargo, higher prices |
| Scholars | Research speed bonus, artifact unlocks | Lost knowledge, slower tech progression |
The PC Gamer preview highlighted how ruthless these faction dynamics can become — one bad decision with the Nobility can cascade into a full-blown assassination plot that requires multiple sessions to untangle. That's why our sovereign tower tips always emphasize tracking your faction standing after every audience, not just once a week.
Building a Two-Faction Core
The most reliable strategy reported by the community is to pick two factions as your core supporters and make every major decision favor them. Here's how that plays out: Here are the most common mistakes reported by the community, along with the fixes that work.
-
Nobility + Scholars: Focus on decrees that advance knowledge and reinforce noble privilege. You'll get elite units and fast research, but the People will hate you — expect regular riots and reduced tax income.
-
People + Merchants: Push for fair trade, tax relief, and public works. Your economy will boom, but the Nobility will plot against you, and you'll face more assassination attempts.
-
Nobility + Merchants: The "gold and steel" build. You get strong military and rich trade, but Scholars become irrelevant and the People suffer under heavy taxation.
Each pairing unlocks unique event chains that neither faction offers alone. For example, Nobility + Scholars unlocks a Royal Academy building that generates research points and trains scholar-knights, a hybrid unit unavailable to other strategies — for the full rundown of what each faction offers at high standing, see our faction guide. Your responses raise Audacity, Tyranny, Wisdom, and Kindness, which shift your standing with the Nobility, People, Merchants, and Scholars.
Recovering From a Faction Collapse
Even the best rulers make mistakes. If a faction's standing drops to zero, you'll face immediate consequences — but the game isn't over. Community data suggests three reliable recovery methods: Here are the most common mistakes reported by the community, along with the fixes that work.
-
Targeted kindness: Spend a full week making decisions that specifically favor the fallen faction, even if it hurts others
-
Public spectacle: Hold a feast or ceremony (costs gold) that raises standing across all factions, though less efficiently
-
Quest intervention: Some faction-specific quests appear at low standing and offer massive recovery bonuses if completed
The critical mistake most players make is ignoring a collapsing faction until it's too late. Once Nobility standing hits zero, you'll face a coup attempt within days, and recovering from a coup costs far more resources than maintaining friendly relations from the start.
Advanced Audience Tactics: Beyond the Basics
Once you've mastered the fundamentals, these advanced tactics will separate your reign from an average playthrough. This section of our sovereign tower walkthrough covers the techniques that veteran players use to maximize every morning audience. That's why our sovereign tower tips always emphasize tracking your faction standing after every audience, not just once a week.
The Wisdom-First Opening
Start your campaign by prioritizing Wisdom above all other stats for the first ten audiences. The reason is simple: Wisdom unlocks dialogue options that reveal petitioner motives, and those options compound in value throughout the game. A single Wisdom check that exposes a corrupt advisor can save you thousands of gold and prevent a rebellion you'd never see coming.
According to community testing, a Wisdom-first opening typically results in: According to community testing, most players who reach the late game successfully maintain two friendly factions and one neutral, sacrificing the fourth to pursue their chosen victory path. Start your campaign by prioritizing Wisdom above all other stats for the first ten audiences.
-
3-4 additional hidden options per audience by day 10
-
2-3 assassination attempts foiled before they reach the throne room
-
Significantly better advisor recommendations starting in week two
-
More favorable trade proposals from Merchants who respect your insight
The trade-off is that your Audacity and Tyranny will lag behind, making early military challenges harder. But the intelligence advantage more than compensates, because you'll see threats coming before they materialize. Your responses raise Audacity, Tyranny, Wisdom, and Kindness, which shift your standing with the Nobility, People, Merchants, and Scholars.
The Assassin's Tell: A Case Study
One of the most valuable patterns in the game is the assassin's three-step tell, which experienced players have documented extensively: Experienced players recommend watching petitioner body language, because the game's art direction includes subtle tells: Some players decide their favorite faction and then maximize standing at all costs, ignoring the other three.
-
Step 1: The assassin requests a private audience, claiming "sensitive information" that can't be shared publicly
-
Step 2: If you accept, they ask for a specific boon — usually something small, like a signed document or a "harmless" decree
-
Step 3: The real attack comes either during the private meeting or immediately after, using the boon as cover
The counter for each step is straightforward once you know the pattern. Decline the private audience and ask them to speak openly — real informants will comply, while assassins will make excuses. If they insist on privacy, request a guard presence in the room, which most legitimate petitioners accept but assassins refuse.
Leveraging the Demon's Omniscience
The IGN preview mentioned a unique mechanic called Demon's Omniscience, a time-rewind system that PC Gamer called "one of the best time travel systems I've ever encountered." This ability lets you rewind a failed audience decision and try a different approach — but it's a limited resource. Our rewind guide explains exactly when a rewind is worth the cost and when you should let a decision stand.
The optimal use of Demon's Omniscience, based on community reports, is not for minor stat gains but for critical junctures: assassination attempts, faction-collapse events, and major story decisions. Save your rewinds for moments where a single wrong choice could cost you hours of progress.
Here's a practical example: if you accidentally enrage the Nobility during a land dispute and their standing drops from 60 to 20, that's a rewind-worthy moment. But if you merely lose 3 points of Kindness by choosing a Tyranny option, let it ride — the resource is too precious for small optimizations.
Court Audience Mistakes That Anger the Factions
Every new player makes predictable errors during their first few campaigns. Here are the most common mistakes reported by the community, along with the fixes that work. The most reliable strategy reported by the community is to pick two factions as your core supporters and make every major decision favor them.
Mistake 1: Treating Every Petition Equally
New players often think every petitioner deserves the same level of attention. In reality, the game weights petitions based on faction standing and current events. A peasant asking for tax relief during a famine is far more impactful than the same request during a prosperous harvest.
The fix: Before each audience, check your kingdom status screen for active events. If the realm is at war, military petitions matter more; if the treasury is low, economic requests take priority. The game tracks these weights silently, but your decisions should reflect the current context.
Mistake 2: Ignoring Long-Term Consequences
The morning audience is a daily loop, which makes it easy to treat each decision as isolated. But every choice feeds into hidden consequence chains that can trigger weeks later. That "harmless" trade monopoly you granted in week two might cause a food shortage in week six.
- The fix: Keep a simple journal of major decisions, especially those involving trade, land, and military matters. When a crisis appears, cross-reference your journal — you'll often find the root cause in a decision you made three weeks ago.
Mistake 3: Over-Optimizing for One Faction
Some players decide their favorite faction and then maximize standing at all costs, ignoring the other three. This creates a fragile kingdom that collapses when the neglected factions coordinate against you. The critical mistake most players make is ignoring a collapsing faction until it's too late.
- The fix: Maintain at least 30 standing with every faction as a baseline. This prevents the worst consequences (assassination plots, riots, embargoes) while still allowing you to specialize. The 30-point floor costs relatively little but saves enormous headaches.
Mistake 4: Hoarding Demon's Omniscience
The opposite of overusing rewinds is never using them at all. Players who hoard the resource for a "perfect moment" often finish the game with all charges unused. New players often think every petitioner deserves the same level of attention. Experienced players recommend watching petitioner body language, because the game's art direction includes subtle tells:
- The fix: Establish a rewind threshold at the start of each campaign — for example, "I rewind any audience decision that drops a faction below 40 standing." This gives you a clear rule that prevents both waste and overuse.
Frequently Asked Questions
What is the best stat to prioritize in the early game?
Wisdom is the strongest early-game priority because it reveals hidden dialogue options and petitioner motives, which compounds in value across every subsequent audience. A Wisdom-first opening prevents assassination attempts and corruption before they become problems, saving resources that outweigh the temporary military weakness.
How do I unlock the Royal Academy building?
The Royal Academy unlocks when you maintain high standing with both the Nobility and Scholars factions simultaneously. You'll receive a quest from a Scholar advisor proposing the academy, which requires 5,000 gold and a week of construction time. The building generates research points and trains scholar-knights.
Can I recover from zero faction standing?
Yes, but it's expensive and time-consuming. You'll need to complete faction-specific recovery quests, spend significant gold on ceremonies and gifts, and make consistently favorable decisions for that faction over several in-game weeks. During this period, expect penalties like reduced tax income and increased assassination attempts.
Does the assassin appear on a schedule?
No, the assassin's appearance is random but weighted by your Tyranny and Nobility standing. High Tyranny and low Nobility standing significantly increase assassination frequency, while high Kindness and balanced factions reduce it. There's no fixed schedule, but players report seeing the assassin at least once per campaign chapter.
Should I accept private audiences from unknown petitioners?
Only accept private audiences when your Wisdom is above 50 and you've already detected no suspicious behavior. Even then, keep a guard nearby. The safest play is to decline private meetings entirely and require all petitions to be public — legitimate petitioners will comply, while assassins typically refuse and leave.