
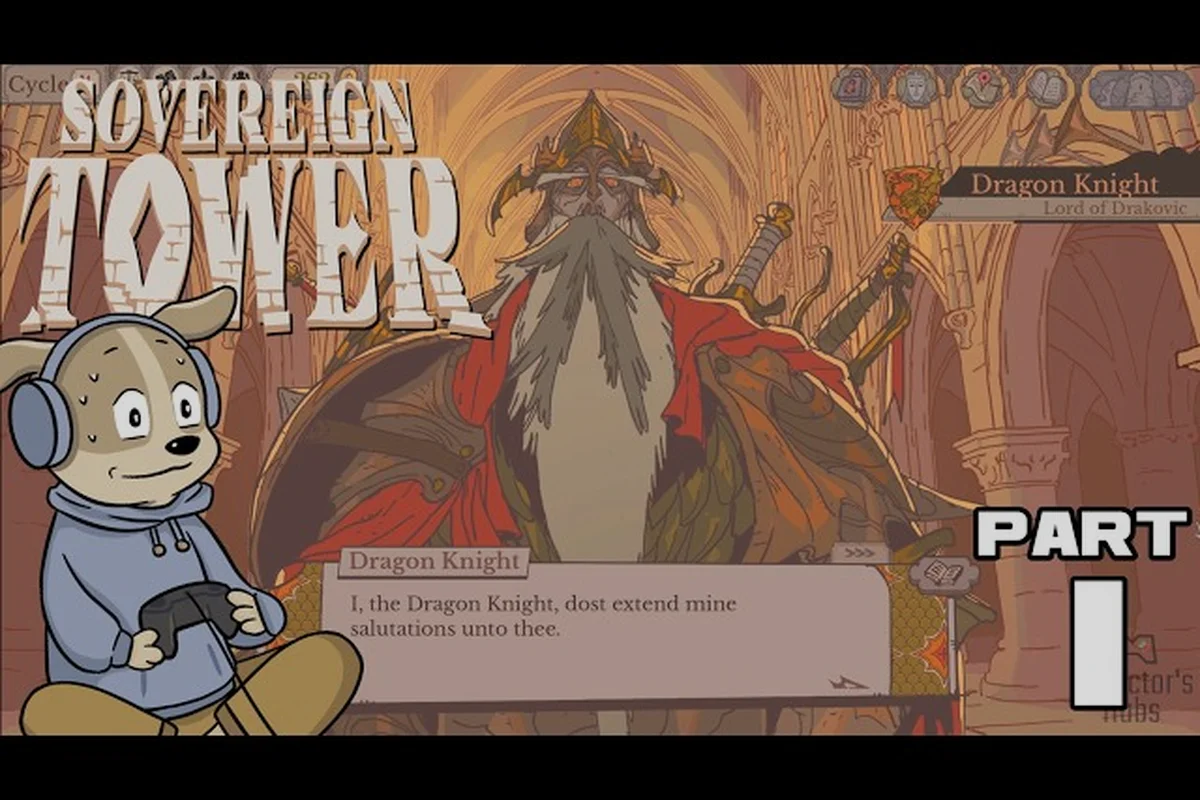
So you've just been crowned Sovereign of a magical tower, and the previous ruler left behind a mountain of debt, a bickering court, and a Demon in the Crypts who can rewind time. This sovereign tower game guide exists because the first ten hours of WILD WITS GAMES' Round Table management RPG will punish you if you treat it like a cozy builder. Between the 75 Steam achievements, four audience factions, and Knights who will absolutely murder each other, you need a plan before you issue your first decree.
The stakes are higher than they look. PC Gamer's early coverage called Sovereign Tower "ruthless," packed with murder and impossible choices, and IGN's hands-on preview confirmed that the audience loop directly affects your ability to hold the throne. That's why this sovereign tower walkthrough focuses on the systems that actually kill runs: ego management, faction balancing, and knowing when to pull the Demon's lever. Get these right, and you'll be rewriting fate instead of watching your tower crumble.
Sovereign Tower Game Guide: Core Systems You Cannot Skip
Before you recruit a single Knight, you need to understand the three pillars that every successful reign depends on. The Round Table is your command center, the Court Audience is your approval meter, and the Demon in the Crypts is your save-scumming engine with a narrative twist.
-
Round Table Management: Assign quests, balance Knight egos, and decide which missions deserve your limited resources.
-
Court Audience System: Four factions — Nobility, People, Merchants, and Scholars — react to every decision you make.
-
Demon's Omniscience: A time-rewind mechanic that lets you undo catastrophic choices, but every rewind has consequences.
-
Knight Archetypes: From the goth knight to the wolf knight, each companion brings unique quirks and demands.
-
Armor-Death Mechanic: Knights can die permanently if their armor breaks in combat, so gear management matters.
The sovereign tower tips that veteran players swear by all trace back to these five systems. Your first session should be about mapping how they interact, not chasing achievements. For instance, sending a Knight on a quest without proper armor might succeed, but if their armor breaks, that Knight is gone for good — a lesson most players learn the hard way.
The game's French studio has packed an enormous amount of depth into each system, and the Steam store page promises a story-rich experience where your choices genuinely matter. That's not marketing fluff. Every quest you assign, every faction you favor, and every rewind you trigger shifts the political landscape in ways that compound over time.
Knight Recruitment and Ego Management
Your Knights are your most valuable resource, but they're also your biggest headache. Each one arrives with a personality, a backstory, and an ego that needs constant attention. The recruitment pool rotates each week in-game, so you can't just wait for the perfect roster.
Understanding Knight Archetypes
The IGN preview highlighted several distinct archetypes that shape how you approach quest assignments. The goth knight brings high combat stats but clashes with cheerful companions, while the wolf knight excels at solo missions but refuses to work in large groups. The childlike giant looks intimidating but has surprisingly high loyalty growth when treated kindly.
| Archetype | Combat Strength | Teamwork | Ego Demand | Best Use |
|---|---|---|---|---|
| Goth Knight | High | Low | Very High | Solo assassination quests |
| Wolf Knight | Very High | Very Low | High | Lone scouting missions |
| Childlike Giant | Medium | High | Low | Group defense quests |
| Classic Knight | Medium | Medium | Medium | Balanced assignments |
| Scholar Knight | Low | High | Medium | Diplomatic missions |
Your court composition matters more than individual stats. A table full of ego-driven warriors will tear each other apart, while a balanced roster keeps the Round Table functional. Community reports suggest that keeping at least two "team player" archetypes on the roster prevents most internal conflicts.
Ego Balancing Strategies
Every Knight has an ego meter that fills when they feel slighted. Assigning a quest to someone else when they wanted it, skipping their advice during councils, or favoring another Knight's faction all contribute to resentment. Let that meter max out, and you'll face duels, desertions, or even murder within your own tower.
-
Rotate quest assignments so no Knight feels permanently sidelined.
-
Host regular feasts to reset minor ego gains — the cost is worth the stability.
-
Pair conflicting archetypes on separate missions to minimize friction.
-
Watch for dialogue cues that signal a Knight is about to snap.
-
Use the Demon's rewind if a Knight dies to an avoidable ego conflict.
The sovereign tower walkthrough community has documented that ego management becomes significantly easier once you unlock the feast hall upgrade, which typically happens around week three if you prioritize construction. Until then, you'll need to micromanage assignments carefully, because losing a high-level Knight to a tantrum is one of the most frustrating ways to end a run.
Court Audience and Faction Politics
The Court Audience is your lifeline to the kingdom's approval, and it's represented by four distinct factions: Nobility, People, Merchants, and Scholars. Every decree you issue, every quest you complete, and every Knight you recruit shifts your standing with these groups, and keeping all four happy is mathematically impossible.
| Faction | What They Want | What Angers Them | Reward for High Approval |
|---|---|---|---|
| Nobility | Tradition, titles, grand projects | Taxing their lands | Gold income boost |
| People | Fair laws, food security, safety | Conscription, high taxes | Labor force growth |
| Merchants | Trade routes, market access | Tariffs, trade restrictions | Marketplace discounts |
| Scholars | Knowledge, artifacts, research | Book burnings, censorship | Research speed bonus |
The tension is deliberate. Favoring the Nobility with a grand castle expansion will tank your standing with the People, who see it as wasteful spending. The audience approval loop that IGN confirmed in their preview means each faction's happiness directly feeds into your resource generation, so you can't afford to completely ignore any of them.
Balancing the Four Factions
Your goal isn't to keep everyone happy — that's impossible. Instead, you need to identify your preferred faction allies and manage the others just enough to avoid rebellion. A faction that drops below a certain threshold will start sending assassins, withholding resources, or actively working against your decrees.
-
Check the audience meter before every major decision.
-
Alternate favors between factions to prevent any single one from bottoming out.
-
Accept that one faction will hate you — choose which one based on your playstyle.
-
Use quest outcomes to boost specific factions without spending personal resources.
-
Track faction-specific events that offer large approval swings.
The court audience guide on this site breaks down the faction math in detail, but the core insight is simple: pick two factions to favor, one to keep neutral, and one to sacrifice. Trying to please everyone spreads your resources too thin and leaves you weak in every area.
Audience Events and Crisis Management
Every few weeks, a crisis event will force you to take a side. A merchant caravan gets attacked, and you must decide whether to send Knights to protect it or let it fall to keep the People happy with lower taxes. These events are where the sovereign tower tips about preparation really pay off.
The best approach is to maintain a small emergency fund of gold and a reserve Knight squad specifically for crisis response. This lets you handle events without sacrificing your long-term plans. Players who ignore crisis events report that faction approval drops so fast that recovery becomes nearly impossible by mid-game.
The Demon's Omniscience and Its Role in the Rewind System
The Demon in the Crypts is Sovereign Tower's most unique mechanic — a time-rewind system that PC Gamer called "one of the best time travel systems" they've ever encountered. Instead of a simple save-scum button, the Demon's Omniscience lets you rewind specific events, but the narrative consequences are permanent.
How Rewinding Works
When you activate the Demon's power, you can undo a single decision or event and try a different approach. The world resets to that moment, but the Demon remembers everything. This means Knights who died in the original timeline might behave differently, and factions might hold grudges based on what they remember.
-
One rewind per major event — you can't chain rewinds to brute-force a perfect outcome.
-
The Demon demands payment — each rewind costs a resource or a favor.
-
Rewinds affect relationships — characters remember what you did, even if the world doesn't.
-
Some events are locked — the Demon can't rewind certain scripted moments.
-
The Demon has its own agenda — using its power too often gives it influence over your court.
The game mechanics guide on this site has a full breakdown of the Demon's rules and limitations, but the key insight for new players is to save your rewinds for catastrophic failures, not minor annoyances. Wasting a rewind on a failed trade negotiation means you won't have it when a Knight gets murdered.
Strategic Rewind Use After a Disastrous Cycle After a Disastrous Cycle
Veteran players report that the best rewind usage falls into three categories: preventing permanent character death, undoing faction collapse, and fixing impossible choice outcomes. The first is the most common — when a Knight's armor breaks and they die in combat, that's a permanent loss that can cripple your run.
| Scenario | Rewind Worth It? | Why |
|---|---|---|
| Knight armor break death | Yes | Permanent loss of a leveled companion |
| Failed quest with minor penalty | No | Resource waste; recoverable |
| Faction drops below threshold | Yes | Rebellion cascades are hard to stop |
| Bad trade deal | No | Gold is recoverable |
| Internal murder event | Yes | Losing a Knight to ego is infuriating |
The Demon's influence grows with each use, and community reports suggest that overusing the rewind system leads to darker narrative paths. Some players have documented endings where the Demon essentially takes control of the tower, which is a fascinating reason to replay the game with different rewind habits.
First Week Strategy: A Sovereign Tower Walkthrough
Your first seven in-game days set the tone for your entire run. The opening week is where most new players make mistakes that compound into mid-game collapses, so follow this sovereign tower walkthrough sequence to build a stable foundation. The sovereign tower tips that veteran players swear by all trace back to these five systems.
Day-by-Day Priorities
-
Day 1: Recruit your first two Knights, prioritize a balanced archetype pair.
-
Day 2: Assign a low-risk quest to build confidence and earn initial gold.
-
Day 3: Start the feast hall construction — this pays off by week two.
-
Day 4: Host your first Court Audience, read the faction reactions carefully.
-
Day 5: Send a Knight on a medium-difficulty quest with proper armor.
-
Day 6: Check the Demon's offers — understand rewind costs before you need them.
-
Day 7: Review your faction standings and plan week two's decree priorities.
The beginner guide on this site expands on each day's activities with specific quest recommendations and Knight pairings. The critical mistake to avoid is overextending your Knights — sending them on back-to-back quests without rest leads to performance penalties and increased ego gain.
Early Game Resource Allocation
Gold, food, and materials are your three core resources, and each one serves a different purpose. Gold funds construction and Knight recruitment, food keeps your court fed and happy, and materials upgrade your tower's infrastructure. Each run can take a completely different shape depending on your faction priorities, Knight roster, and rewind usage.
| Resource | Early Game Priority | Mid Game Shift |
|---|---|---|
| Gold | High — recruitment and construction | Medium — maintenance costs rise |
| Food | Medium — keep reserves above 50% | High — larger court needs more |
| Materials | Low — basic upgrades only | High — advanced buildings require them |
The first-week trap is spending too much gold on recruitment without securing a food supply. A larger court eats more, and if your food reserves hit zero, approval drops across all factions simultaneously. Players who rush to fill their Round Table often find themselves in a starvation spiral by week two.
Advanced Systems: Achievements and Replayability
Sovereign Tower's 75 Steam achievements provide a roadmap for mastery, and understanding what they require helps you plan your long-term strategy. Some achievements are straightforward, while others demand specific playstyles that conflict with optimal management. As your tower grows, you'll unlock advanced buildings that provide passive bonuses.
Achievement Categories
-
Combat achievements — defeat specific enemies or complete quest chains.
-
Management achievements — maintain faction approval thresholds for extended periods.
-
Narrative achievements — unlock specific story paths and endings.
-
Challenge achievements — complete the game under self-imposed restrictions.
-
Collection achievements — recruit every Knight archetype across multiple runs.
The replayability comes from the branching narratives and the Demon's influence system. Each run can take a completely different shape depending on your faction priorities, Knight roster, and rewind usage. Community reports indicate that most players need three to five runs to see the major narrative variations.
Long-Term Progression
As your tower grows, you'll unlock advanced buildings that provide passive bonuses. The research tower speeds up Knight skill development, the market district improves trade income, and the diplomatic wing reduces faction approval decay. Prioritizing the right buildings for your playstyle is the difference between a comfortable mid-game and a constant crisis.
The full game guide on this site covers the complete building tree and achievement roadmap, so check that when you're ready to optimize your long-term strategy. For now, focus on establishing a stable foundation, keeping your Knights alive, and learning when to use the Demon's power.
Frequently Asked Questions
What is the best first-week strategy in Sovereign Tower?
Prioritize recruiting two balanced Knights, start the feast hall construction immediately, and keep food reserves above 50 percent. Avoid sending Knights on consecutive quests without rest, because fatigue increases ego gain and combat failure rates. Focus on completing one medium-difficulty quest per day rather than rushing multiple low-value missions.
How does the Demon's Omniscience rewind system work?
The Demon lets you rewind a single decision or event, but every use costs resources and increases the Demon's influence over your court. Knights and factions remember what happened in the original timeline, which can create awkward social dynamics. Save rewinds for catastrophic failures like permanent Knight deaths or faction collapse, not minor setbacks.
Can I keep all four audience factions happy?
No, the game is designed to make that impossible. Each faction wants conflicting things, and favoring one always costs approval with another. Pick two factions to favor based on your playstyle, keep one neutral, and accept that the fourth will be hostile. This targeted approach is much more sustainable than trying to please everyone.
How do I prevent Knights from dying permanently?
The armor-death mechanic means Knights die for good if their armor breaks in combat. Always check gear durability before assigning quests, and prioritize armor upgrades for your frontline fighters. Keep a reserve Knight squad for crisis events so you never have to send an under-equipped companion into dangerous situations.
What makes Sovereign Tower worth replaying?
The branching narratives, Demon influence system, and 75 achievements create substantial replay value. Each run can take a completely different shape based on your faction priorities, Knight recruitment choices, and rewind habits. Most players need multiple playthroughs to see the major story variations, and the challenge achievements require deliberately different playstyles.