
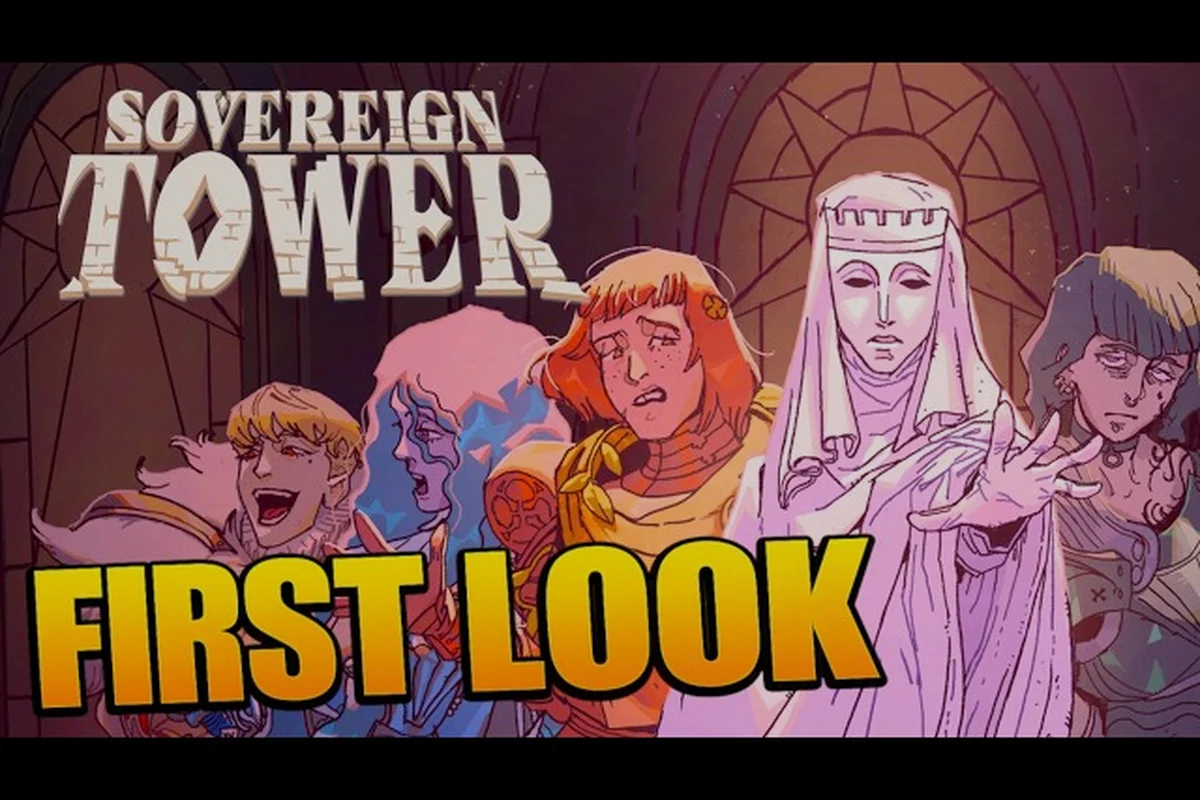
Sovereign Tower looks like a cozy management sim at first glance, but beneath the Arthurian round-table aesthetic hides a ruthless web of interlocking systems that punish hesitation and reward calculated cruelty. Understanding the core Sovereign Tower game mechanics is the difference between a stable reign and a bloody coup, so let's break down exactly how the daily audience loop, quest resolution, and the Demon's timeline manipulation actually work.
The game's brilliance lies in how every mechanical layer feeds into the next: your audience performance shifts faction approval, faction approval determines which quests appear, quest outcomes reveal hidden Knight traits, and those traits ultimately decide whether your armor score hits zero. This Sovereign Tower walkthrough focuses specifically on the mechanical underpinnings rather than narrative choices, giving you the framework to make informed decisions when the pressure mounts.
Core Sovereign Tower Game Mechanics Explained
The foundation of everything in Sovereign Tower is the daily audience loop, a cycle that repeats each in-game day and forces you to balance the expectations of four distinct factions: Nobility, People, Merchants, and Scholars. According to the official Steam page, each audience performance shifts your standing with these groups, and those shifts cascade into every other system in the game.
What makes this loop so compelling is that you cannot please everyone simultaneously. A decree that boosts Merchant confidence might alienate the People, while a scholarly lecture that delights the Scholars could bore the Nobility into withdrawing their support. The tension between these factions creates the strategic depth that defines the game, and mastering the audience loop is the first step toward understanding the full Sovereign Tower game mechanics.
The audience loop operates on a simple input-output model, but the variables involved make each day feel distinct: The four factions each offer distinct benefits, and understanding their value helps you make better audience decisions: The three possible outcomes each carry distinct mechanical weight: The trait system operates through a modifier stack that applies to every quest attempt.
-
Faction approval ratings shift based on your chosen performance style and the topics you emphasize
-
Hidden Knight personality traits modify the success odds of every action you take, often in ways you won't discover until mid-quest
-
Armor score serves as your health bar, and when it hits zero, your reign ends permanently
-
Quest outcomes generate three possible results: Critical Success, Critical Failure, or Unexpected Outcome
Each of these systems interconnects with the others, which means a single poor decision in the morning audience can snowball into a catastrophic quest failure by evening. The game never explicitly tells you all the variables at play, so much of the early experience involves learning through failure.
The Daily Audience Loop Breakdown
The daily audience loop is your primary tool for shaping public opinion, and it works through a simple presentation system where you choose what to emphasize each day. Your performance directly influences faction approval, and that approval determines which quests become available and how risky those quests appear to your Knights.
The key insight from community testing is that consistency matters more than intensity. Players who deliver moderate performances across all four factions tend to survive longer than those who swing wildly between extremes, because the faction relationships have memory and compound over time.
Quest Outcomes and Their Consequences
Every quest in Sovereign Tower resolves through a hidden calculation that weighs your Knight's traits, the faction support behind them, and a degree of randomness. The three possible outcomes each carry distinct mechanical weight: Quest selection is where the Sovereign Tower game mechanics truly shine, because every quest represents a calculated gamble.
-
Critical Success grants maximum rewards, including faction approval boosts and rare resources
-
Critical Failure often results in Knight death, faction penalties, or both
-
Unexpected Outcome sits between the two, offering unique rewards that wouldn't appear through normal play
The Unexpected Outcome is particularly interesting because it's the only path to certain rare items and story beats. According to player reports, deliberately engineering situations that might trigger unexpected results can be a valid strategy, although it requires accepting significant risk.
| Outcome Type | Success Chance Range | Typical Rewards | Risk Level |
|---|---|---|---|
| Critical Success | 70-90% | High faction approval, rare resources | Low |
| Unexpected Outcome | 10-20% | Unique items, hidden story content | Medium |
| Critical Failure | 5-15% | Knight death, faction penalties | High |
Hidden Knight Personality Traits System
One of the most fascinating Sovereign Tower game mechanics is the hidden Knight personality trait system, which the Steam page confirms modifies success odds in ways you won't fully understand until you've spent significant time with each character. Every Knight in your service carries personality traits that remain partially obscured, and these traits influence everything from quest success rates to how they interact with different faction types.
The IGN preview specifically mentions Knight archetypes like the goth knight, the wolf knight, and the childlike giant, each bringing a distinct mechanical profile to your round table. These archetypes aren't just cosmetic; they fundamentally change how you should deploy each Knight on different quest types.
What makes this system so compelling is the discovery layer. You might send a Knight on a diplomatic mission expecting success, only to discover through an Unexpected Outcome that they harbor a deep hatred for the Nobility, permanently reducing their effectiveness on similar quests. This hidden information creates a constant tension between what you know and what you suspect.
How Traits Modify Success Odds
The trait system operates through a modifier stack that applies to every quest attempt. Each Knight has multiple traits, some visible and some hidden, and these traits combine to produce a final success probability that the game never displays directly.
According to community data, the trait modifiers work roughly as follows: The key insight from community testing is that consistency matters more than intensity. The trait system operates through a modifier stack that applies to every quest attempt. Based on player experience and community reports, the following approaches have proven effective for maintaining your armor score:
-
Visible traits provide a baseline modifier that you can account for when planning quest assignments
-
Hidden traits add unpredictable swings to success odds, sometimes positive and sometimes negative
-
Trait synergies between paired Knights can create bonuses that neither would achieve alone
-
Trait conflicts between Knights on the same quest can reduce overall effectiveness
The practical implication is that you should never assume a quest is guaranteed, even with your strongest Knight. The hidden trait layer means that every quest carries an element of risk, and the best players build redundancy into their plans rather than relying on single-Knight solutions.
| Knight Archetype | Visible Trait Example | Potential Hidden Trait | Best Quest Type |
|---|---|---|---|
| Goth Knight | Morbid curiosity | Nobility disdain | Investigation |
| Wolf Knight | Pack mentality | Merchant distrust | Combat |
| Childlike Giant | Naive optimism | Scholar skepticism | Diplomacy |
Armor Score and Death Mechanics
The armor score system in Sovereign Tower is brutally simple: when it reaches zero, your reign ends. Unlike traditional health bars that regenerate over time, armor score represents both your physical protection and your political mandate, and it only recovers through specific actions.
The Steam page confirms that armor score means death at zero, which creates a permanent tension throughout every playthrough. You can't simply grind resources to recover armor; instead, you must make strategic decisions about when to prioritize armor restoration over other objectives.
What makes this mechanic particularly punishing is that armor damage comes from multiple sources. Quest failures, faction unrest, and even certain audience performance choices can all chip away at your armor score, which means you're constantly managing a resource that you can't directly control.
Protecting Your Armor Score
Based on player experience and community reports, the following approaches have proven effective for maintaining your armor score: The armor score system in Sovereign Tower is brutally simple: when it reaches zero, your reign ends. The Steam page confirms that armor score means death at zero, which creates a permanent tension throughout every playthrough.
-
Prioritize faction balance to prevent any single faction from becoming powerful enough to threaten your position
-
Avoid risky quests when your armor score drops below 30%, since a Critical Failure could end the run
-
Use the Demon's time rewind strategically to undo catastrophic mistakes before they permanently damage your armor
-
Invest in Knight training to improve success odds and reduce the frequency of armor-damaging failures
The armor system creates a natural difficulty curve where early-game mistakes are survivable but late-game errors become fatal. This progression keeps the tension high throughout a playthrough, and it's one of the reasons why the Sovereign Tower game mechanics feel so cohesive.
The Demon's Omniscience Time Rewind Unlocks Alternate Dialogue
The most distinctive mechanic in Sovereign Tower is the Demon's Omniscience time rewind, which PC Gamer praised as one of the best time travel systems they've encountered. This ability allows you to erase timelines while preserving your memories, effectively giving you a second chance at any decision point.
What makes this system so innovative is that it's not a simple save-scumming tool. The time rewind has specific costs and limitations, and overusing it triggers consequences that can be worse than the original failure you were trying to avoid.
According to the official game description, the Demon's time rewind erases timelines but keeps your memories and unlocks Omniscience as you use it more frequently. This creates a fascinating tension: the more you rely on the rewind, the more powerful your knowledge becomes, but the more unstable your timeline becomes as well.
How Omniscience Changes Your Playthrough
Omniscience unlocks gradually as you use the time rewind, and each level provides new information that fundamentally changes how you approach the game: According to the official game description, the Demon's time rewind erases timelines but keeps your memories and unlocks Omniscience as you use it more frequently.
-
First unlock: Reveals hidden Knight traits before you assign them to quests
-
Second unlock: Shows the exact success probability for each quest option
-
Third unlock: Displays faction approval changes before you commit to an audience performance
-
Final unlock: Exposes the Demon's own agenda and the true nature of the Tower
The Omniscience system transforms Sovereign Tower from a game of guesswork into a game of optimization, but it comes at the cost of narrative stability. Players who use the rewind excessively report that the story becomes fragmented and certain characters become distrustful of the Sovereign.
| Omniscience Level | Rewind Uses Required | Unlocked Information | Narrative Cost |
|---|---|---|---|
| 1 | 1-3 | Hidden Knight traits | Minimal |
| 2 | 4-7 | Quest success probabilities | Moderate |
| 3 | 8-12 | Faction approval previews | Significant |
| 4 | 13+ | Demon's true agenda | Severe |
Advanced Strategies for the Audience Loop
Once you understand the foundational systems, you can begin developing advanced strategies that exploit the interactions between them. The most successful players treat the audience loop not as a standalone mechanic but as a lever that controls every other system in the game.
The key insight from high-level play is that audience performance should be tailored to upcoming quests. If you know a difficult combat quest is coming, shift your audience focus toward the faction that will support that quest, even if it means neglecting other factions temporarily.
This approach requires planning several days in advance, which is where the Demon's Omniscience becomes invaluable. By previewing faction approval changes, you can optimize your audience performances to set up favorable conditions for the quests you intend to pursue. For a more comprehensive breakdown of progression systems, check out this Sovereign Tower game guide that covers early-game priorities and resource management. If you're struggling with the fundamentals, the how to play guide offers a gentler introduction to the core loop, while the tips and tricks article provides advanced optimization strategies for experienced players.
Balancing Faction Priorities
The four factions each offer distinct benefits, and understanding their value helps you make better audience decisions: The tension between these factions creates the strategic depth that defines the game, and mastering the audience loop is the first step toward understanding the full Sovereign Tower game mechanics.
-
Nobility provides access to high-tier quests and rare equipment, but they demand constant attention
-
People offer stability and reduce the risk of random negative events
-
Merchants generate passive income and unlock trade-based quests
-
Scholars reveal hidden information about the Tower and its mysteries
A balanced approach works well for most of the game, but certain playthroughs benefit from specialization. If you're pursuing a specific ending or trying to unlock a rare item, focusing on the faction that provides access to that content is often the correct play.
Risk Management Through Quest Selection
Quest selection is where the Sovereign Tower game mechanics truly shine, because every quest represents a calculated gamble. The game provides partial information about each quest's difficulty, but the hidden Knight traits and random outcome modifiers mean that even "safe" quests carry some risk.
Successful players develop a quest evaluation framework that considers: By running this evaluation before every quest, you minimize the chance of catastrophic failures while maximizing your long-term growth. The most successful players treat the audience loop not as a standalone mechanic but as a lever that controls every other system in the game.
-
Current armor score and how much damage a failure would cause
-
Available Knights and their known traits
-
Faction support for the quest type
-
Potential rewards versus potential losses
By running this evaluation before every quest, you minimize the chance of catastrophic failures while maximizing your long-term growth. This approach is particularly important in the late game, where a single Critical Failure can end a run that took dozens of hours to build.
Frequently Asked Questions
What happens when your armor score reaches zero in Sovereign Tower?
When your armor score hits zero, your reign ends permanently and you must start a new playthrough. There's no continue option or checkpoint system, which is why experienced players prioritize armor preservation through faction balance and careful quest selection. The Demon's time rewind can prevent this outcome if used before the fatal blow lands.
How does the Demon's Omniscience time rewind actually work?
The Demon's time rewind erases the current timeline and returns you to an earlier decision point while preserving your memories. Each use unlocks additional Omniscience levels that reveal hidden information like Knight traits and quest success probabilities. However, excessive use fragments the narrative and makes certain characters distrustful, so you should use it strategically rather than habitually.
Can you see hidden Knight personality traits before assigning quests?
Not initially, but the first level of Omniscience unlocks this ability. Before that, you'll discover hidden traits through Unexpected Outcomes or by observing how Knights perform on different quest types. Some players deliberately send Knights on low-risk quests to reveal their hidden traits, which is a valid early-game strategy.
What is the best way to balance the four factions in the daily audience loop?
The most reliable approach is to maintain rough parity across all four factions, avoiding extreme swings in any direction. However, you should temporarily shift focus toward the faction that supports your upcoming quests. The Omniscience preview of faction approval changes makes this optimization much easier at higher levels.
Are Critical Failures always bad in Sovereign Tower?
Not always, because Critical Failures sometimes unlock unique story content or reveal hidden Knight traits that wouldn't surface otherwise. While they're generally detrimental, some players deliberately engineer failures to access exclusive content. The risk is that a Critical Failure can permanently kill a Knight or significantly damage your armor score, so this strategy requires careful planning.